There are two ways to link to another web site in Agent123. One is by adding a new button to the left navigation, and the other is by linking text on a page.
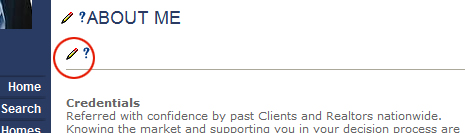
Adding a button is accomplished by first choosing the page you wish the link to appear. After locating the area where the link is to be placed, click on the pencil nearest to that area.
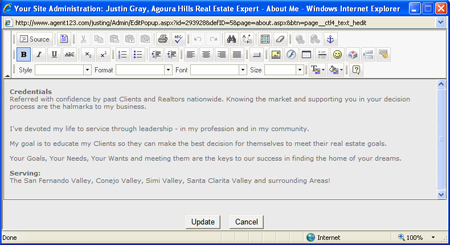
When the full text editor appears
Click the “Button” Icon and type in your button title. Choose button color and text color.Make sure you have your URL (web address) copied so you can paste it into the area for “URL.”Lastly, choose the “Target” for how the link will open.Then click OK.To finish, hit “Update”.
Linking Text on a PageThe "globe link" icon in your toolbar is typically “greyed” out until you select a piece of text to highlight. This informs the program that you wish to make changes to what you’ve selected. You won’t be able to create a text link, change font style, and color etc. until this is done.
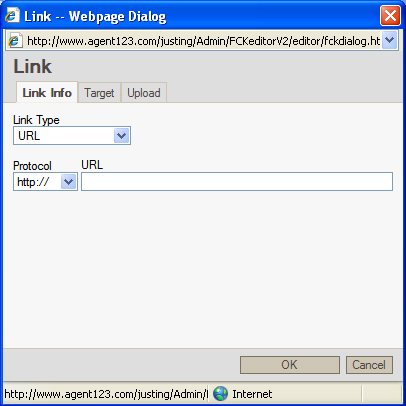
To insert a hyperlink, have your text selection ready and click the "Insert Edit Link" Icon . (The globe image) – and the "Webpage Dialog" window will appear:
– Place the URL that you’d like into in the “URL” field. – In the tab at the top marked “Target” choose the drop-down menu; select how you would like the link to display. “Framed Window” will frame the link within your site. “New Window (_blank)” will open the link in a new browser window. Click OK. Then hit the update key to confirm the change.
Notes:
– Your Agent123 web site defaults with the target not set, which means that your link, once clicked, will load within your Agent123 site. – To link to another page within your site simply type in the relative link (i.e. /contact.aspx – which is a link that will go to your contact page when clicked).
Remove Link
To remove a link, select the linked text that is to be unlinked and click the "Remove Link" Icon.
Linking to a PDF or Word Document:
Is first accomplished by repeating the above steps for creating a text link but with one minor change:
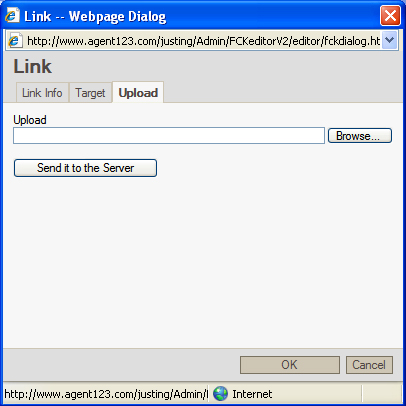
Step 1Instead of entering in the URL, this time you’ll need to click on the tab marked “Upload”
Click the “browse” button and locate your document. Once found, click on it and hit open.
When the window vanishes and a pathway can be seen in the box next to “Browse” the next step is to click “Send to Server”.It may take a moment for the system to cycle through but once you see “Your file has successfully uploaded”
You are now ready to move on to…
Step 2. (Note: If you get an error message, it may be due to the size of the file. It may need to be broken into smaller files in order to fit.)
Step 3.Once the success message is displayed, go to the “Target” tab to choose how the file will open when a client clicks it. Hit “OK”, then “Update” to confirm when finished.