How it works – Your sold listings page just got a lot smarter! You now have the option to automatically have your sold listings added to your website for you, add sold listings by MLS#, or to add sold listings manually.
1. Go to your website and click on “Agent Center” at the very bottom of your page

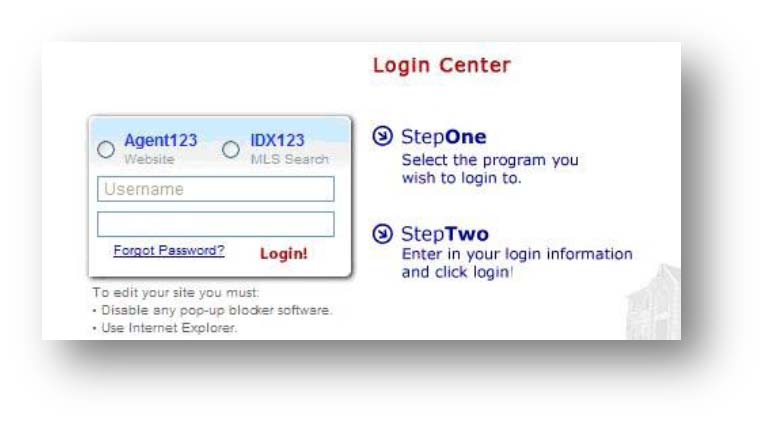
2. Choose to log into your “Agent123”. Enter Username and Password and press “Login!”
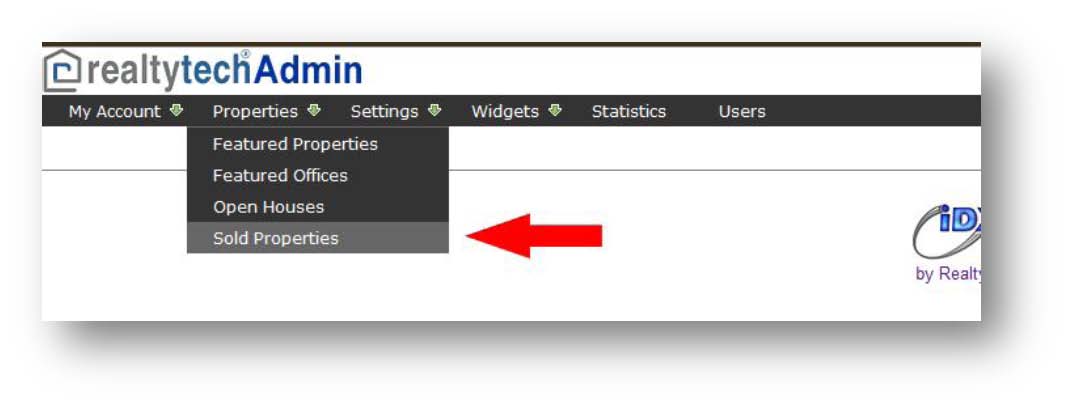
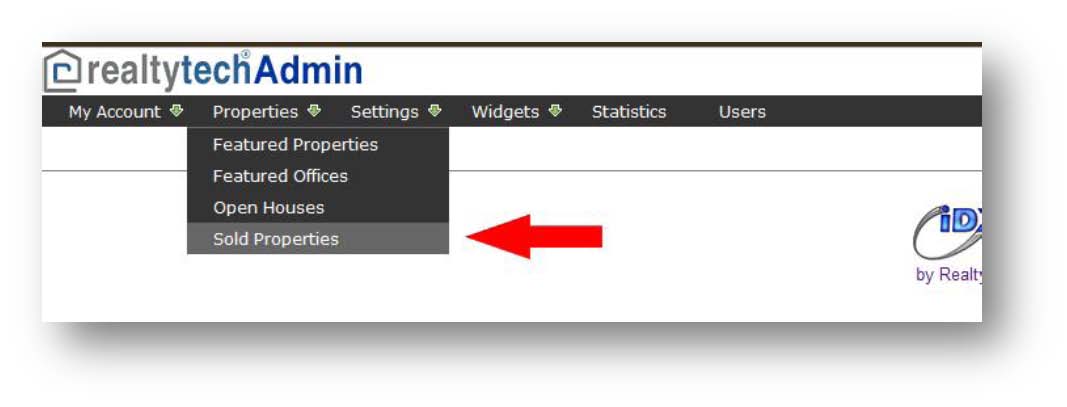
3. Hover over “Properties” and click “Sold Properties” on the drop down menu.
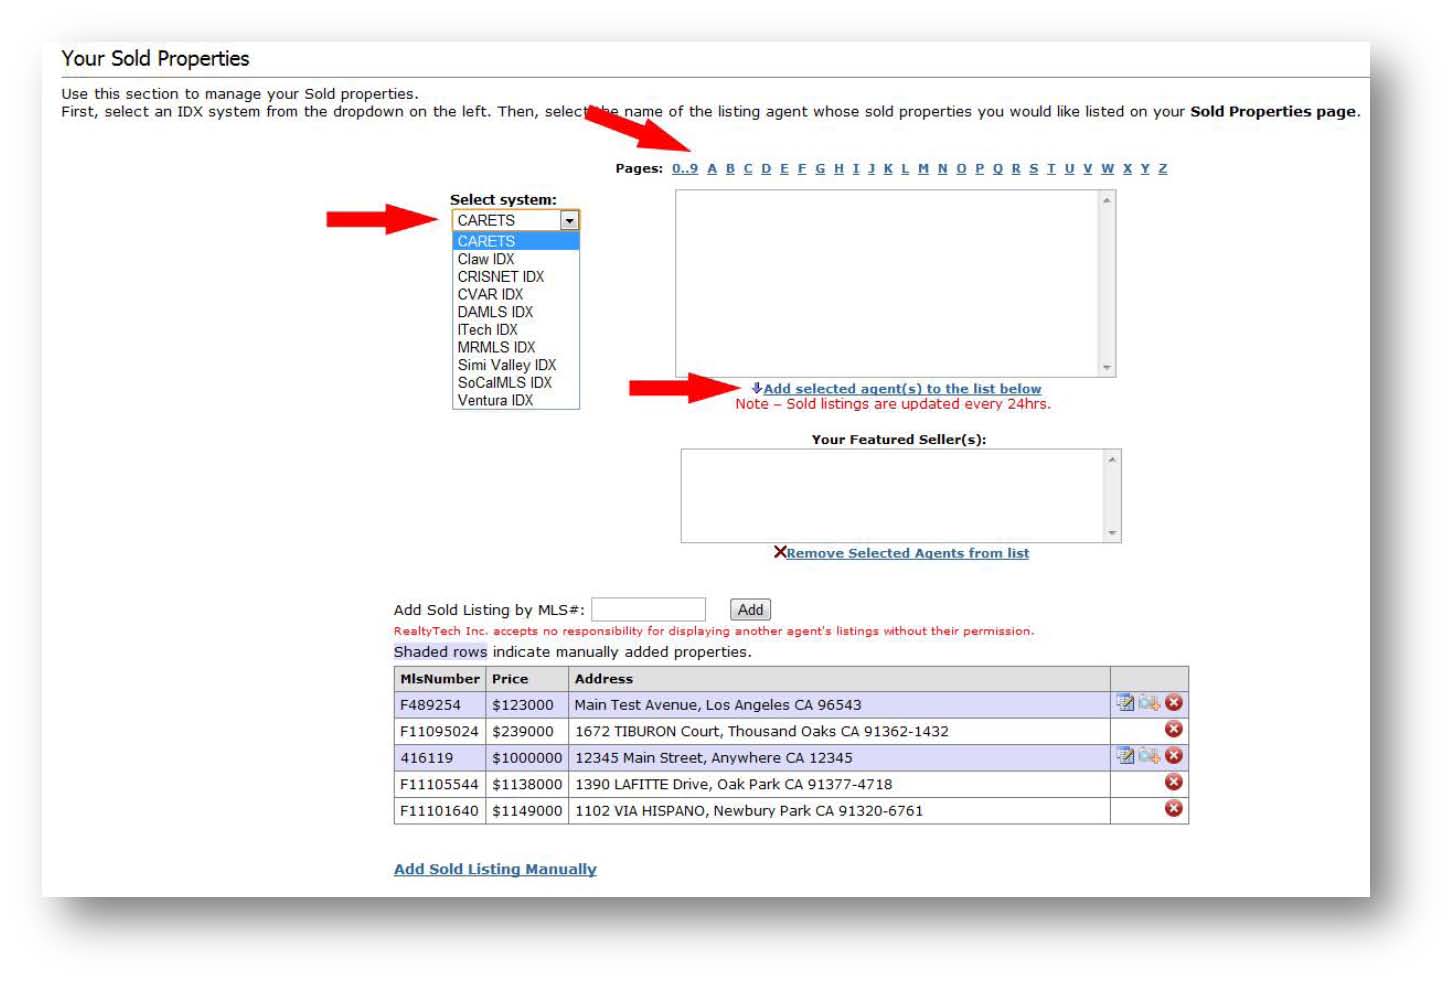
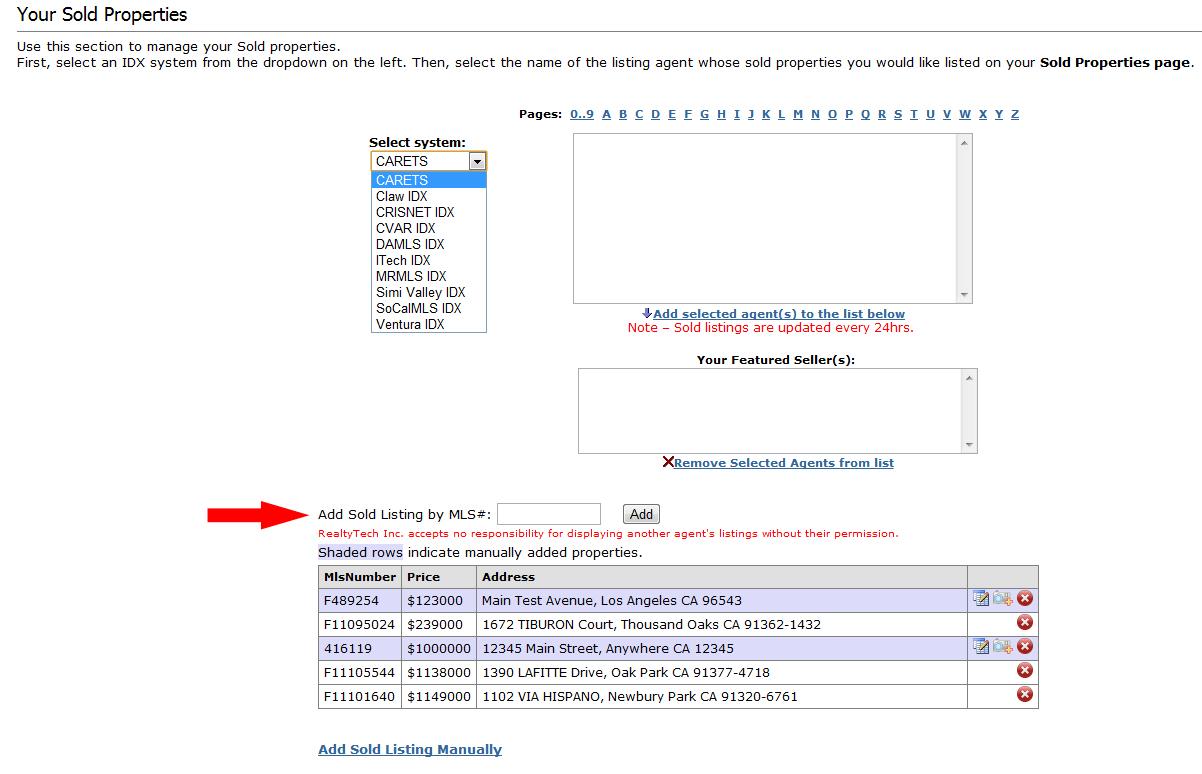
4. Click the drop down menu for “Select System” and choose which MLS board you are with (if you belong to multiple MLS boards, you must add them one by one). Next, click on the letter above that corresponds with your first name. Find your name in the list below and click on “Add Selected Agent(s) to the List Below.”
Done! The sold listings available under that MLS# will be automatically added to your website within 24hrs.
1. Go to your website and click on “Agent Center” at the very bottom of your page

2. Choose to log into your “IDX123”. Enter Username and Password and press “Login!”

3. Hover over “Properties” and click “Sold Properties” on the drop down menu.

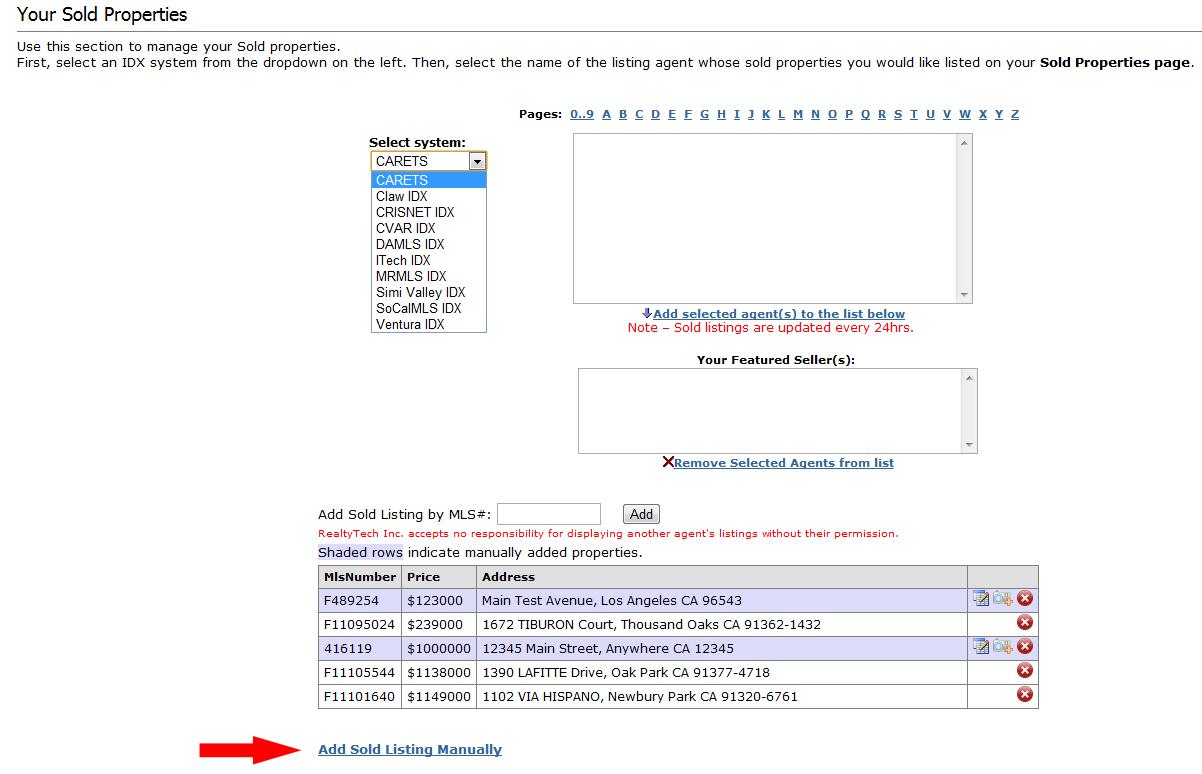
4. Type in the MLS# for the property you want to add in the space provided and click on “Add”. If the property is no longer in the available to be automatically added, you will see “Can’t find MLS #”. If you believe that you have received this message in error, please email support@realtytech.com with the MLS# input, and any other information you have on the property, such as the date it was sold. If the data is no longer available, you can still add the property manually.
1. Go to your website and click on “Agent Center” at the very bottom of your page

2. Log into your “IDX123”

3. Hover over “Properties” and click “Sold Properties” on the drop down menu.
4. Click on the “Add Sold Listings Manually” link at the bottom of the page
5. Fill out the information for the sold property that you would like to add, and click on “Save Property” when finished.
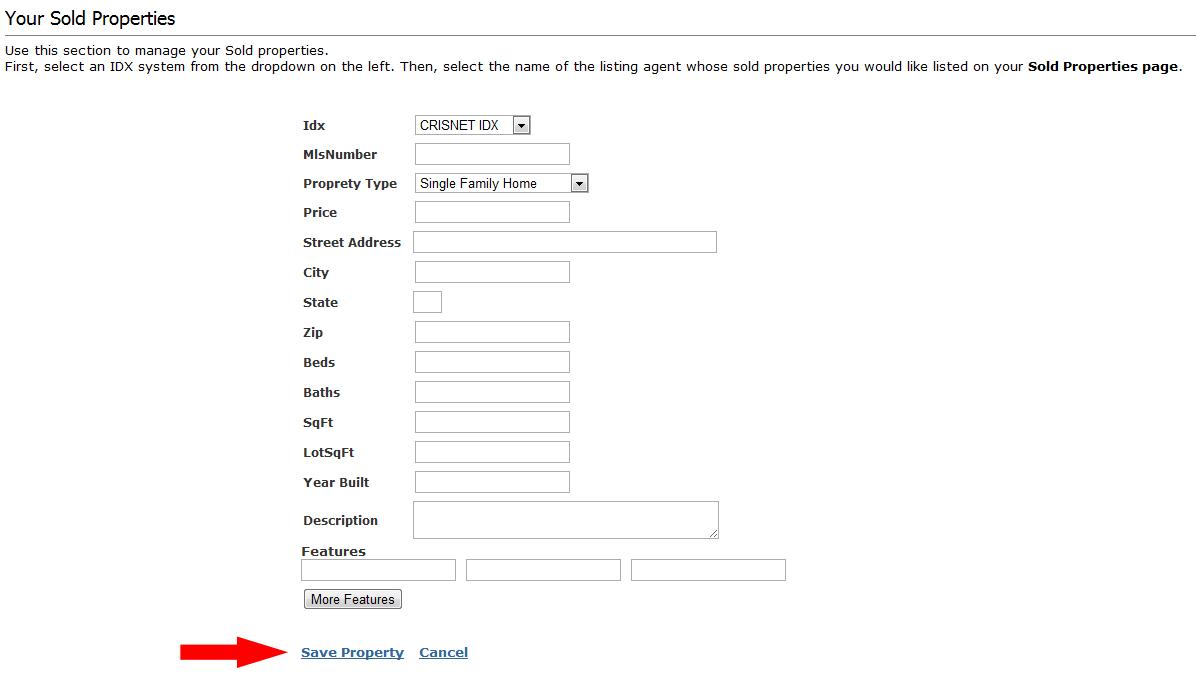
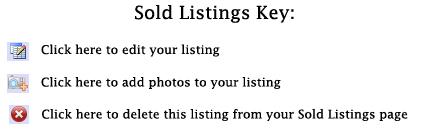
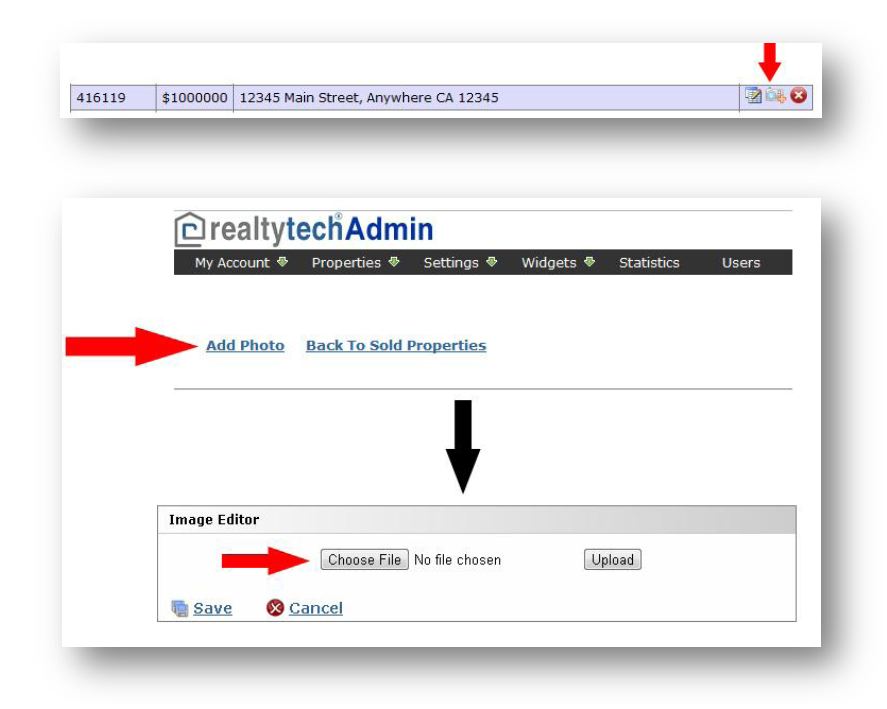
6. Your listing will now be added to your list of sold properties highlighted in purple. Next, click on the camera icon to manually add photos to the listing. Click on “Add Photo,” then “Choose File” when prompted. Browse your computer for the photo that you want to use, then click “Open” and finally “Upload.” Crop your photo as necessary, and click “Save.” Continue this step and add as many pictures as you need!